
How to Get a U.S. Passport
A Step-by-Step Guide for First-Timers
Introduction
So, you've decided it's time to how to get a passport checklist. Maybe you have a trip coming up. Maybe you just became a U.S. citizen and getting that little blue book feels like the official finishing touch. Maybe someone asked for your ID and you handed over a gym membership card out of pure habit.
Whatever got you here, welcome. Getting a passport is one of those things that sounds complicated until you actually read the steps, and then it's mostly just paperwork, a very specific photo, and a little patience. This guide walks you through every step so you can stop putting it off and start actually planning that trip.
Educational Disclaimer: EduCyber Academy is a private educational resource and is not affiliated with the U.S. Department of State or any other government agency. This article provides general educational information about the U.S. passport application process. For applications, fees, forms, and current requirements, always verify information with the Department of State.
Step 1: Confirm You're Eligible
Before you do anything else, make sure you actually qualify for a U.S. passport. To be eligible, you must be a U.S. citizen or non-citizen national. This includes people born in the United States, people who were naturalized, and U.S. nationals born abroad to at least one American parent. If you recently completed your naturalization ceremony, congratulations, you're eligible, and your Certificate of Naturalization is about to do a lot of work in the next few steps.
Step 2: Gather Your Documents
This is the step most people underestimate. You can't just show up with good intentions and a winning smile. You'll need proof of U.S. citizenship, such as your original birth certificate, naturalization certificate, or a previously issued U.S. passport, along with a valid government-issued photo ID like a driver's license or state ID. You'll also need a photocopy of the front and back of that ID.
If any of your documents are in another language, you'll need a certified English translation too. Get everything together before you schedule your appointment, not after. Trust the process.
Step 3: Take Your Passport Photo
This is where people get tripped up more than anywhere else. Your passport photo has rules, and the passport office has seen every shortcut attempt imaginable.
Your photo must be recent, taken within the last six months, and show a clear, front-facing view of your face against a white or off-white background. No shadows, no patterns, no filters. Your face must take up between 50% and 69% of the frame, which means no tiny face floating in a sea of background. Eyeglasses are not allowed. Selfies are not allowed. Hats and head coverings are generally not allowed unless worn daily for religious reasons. And yes, they will notice.
You can get your photo taken at many pharmacies, shipping stores, and post offices for a small fee. Some acceptance facilities take photos on-site. Either way, skip the DIY attempt, a rejected photo means starting over.
Step 4: Complete Form DS-11
Form DS-11 is the standard application for first-time passport applicants, and you can fill it out online at travel.state.gov or pick up a paper copy at any acceptance facility. Fill it out completely, print it, and then, this is important, do not sign it yet.
You must sign the form in front of a passport acceptance agent. Signing it at home before your appointment will invalidate it and you'll have to start over on a fresh form. This is not a step to rush. Leave the signature line blank until you're told to sign.
Step 5: Check for Special Circumstances
Most adults applying for a first passport follow the standard DS-11 process, but certain situations require extra steps or additional documentation. These include applying for a child under 16 (both parents typically need to be present or provide consent), applying for a 16- or 17-year-old, replacing a lost or stolen passport, changing your gender marker, addressing child support arrears over $2,500, or applying for a special issuance passport for diplomatic or official travel.
If any of these apply to your situation, visit travel.state.gov before your appointment to make sure you have everything you need. Showing up unprepared adds delay, and nobody wants more delay in this process.
Step 6: Visit a Passport Acceptance Location
First-time applicants must apply in person; there is no online option for a first passport. You'll submit your application at an approved acceptance facility, which could be a post office, a public library, a county clerk's office, or another government office. There are more than 7,500 acceptance facilities across the country, so finding one near you usually isn't the hard part.
What trips people up is not calling ahead. Hours vary. Some locations require appointments. Some have limited availability. Check before you go, and if an appointment is available, book it, walk-ins aren't always welcome.
Step 7: Pay the Fee
Here's where you need to pay attention because there are two separate payments going to two separate parties, and submitting the wrong amount is one of the most common reasons applications get returned.
For a first-time adult passport book, you'll pay $130 to the U.S. Department of State as the application fee, plus a separate $35 execution fee paid directly to the acceptance facility, a total of $165. The application fee must be paid by check or money order made out to "U.S. Department of State." The execution fee is paid separately to the facility, which may accept cards. Bring both forms of payment.
If you want a passport card in addition to the book (useful for land and sea travel to Canada, Mexico, Bermuda, and the Caribbean), that adds $160 for the book and card application fee combined, plus the same $35 execution fee, for a total of $195. If speed matters, expedited processing is available for an additional $60 - and 1-3 day return delivery adds $22.05 on top of that.
Step 8: Track Your Application
Once your application is submitted, you're in the waiting game. Sign up for email updates at travel.state.gov so you're not left refreshing your phone every morning like you're waiting for concert tickets to drop. It can take up to two weeks after submission for your application status to show as "In Process," so try not to panic if the tracker seems quiet at first.
Processing times vary depending on the time of year, demand, and whether you paid for expedited service. Routine processing can take several weeks, so if you have a trip coming up, plan well ahead of your travel dates.
Step 9: Receive Your Passport
When your passport is approved, it will arrive by mail. In some cases, you may receive multiple mailings, the passport book and any supporting documents you submitted can arrive separately, so don't assume something's wrong if only one envelope shows up first.
If you've been waiting more than four weeks and still haven't received anything, contact the National Passport Information Center at 1-877-487-2778 to report the delay. It happens, and there are people who can help, you just have to reach out.
Conclusion
Getting a passport is one of those adulting milestones that feels like a lot of steps until you're actually done, and then you realize it wasn't so bad. A little prep, the right documents, a photo that actually follows the rules, and a couple of separate checks, and you're done. That blue book opens more doors than almost anything else you'll ever apply for.
If you want to stay organized through every step of the process, our Passport Application Checklist is a printable PDF you can download instantly and check off as you go, because nothing feels better than crossing steps off a list.
Until next time…
Digital Disasters and Delights
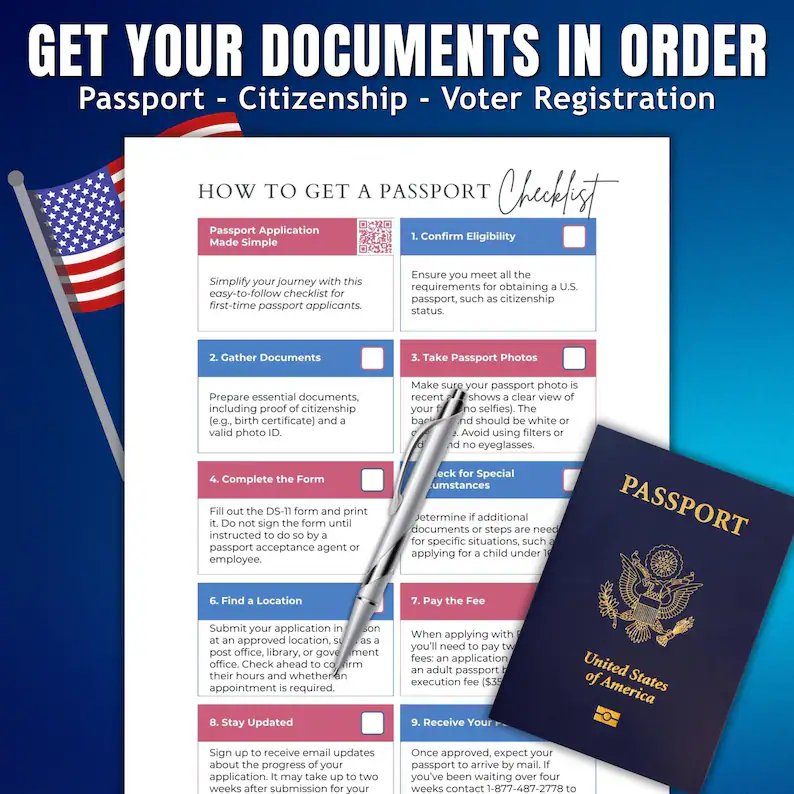
Passport Application Checklist
This checklist is designed for new US citizens and first-time passport applicants who need to stay organized through every step, from gathering your documents to submitting your application with confidence.